LÖVE is a fun 2d graphics/game engine based around Lua.
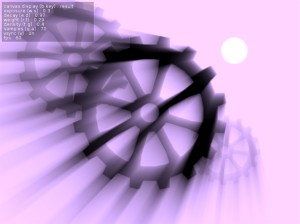
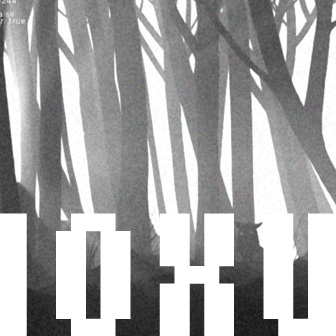
I adapted a glsl shader for a light ray effect in a LÖVE pixeleffect. I used this effect in a hastily assembled demo of pixel shading in a sidescroller mockup:
Fabien Sanglard’s original code, and a brief but excellent description of the effect, is here.
This LÖVE wiki page lists the main differences between pixeleffects and glsl you should be aware of while adapting shaders to LÖVE.
adapting glsl to pixeleffect
To adapt Fabien’s glsl pixel shader to a LÖVE pixeleffect I only had to change a couple of things.
The biggest change was moving the void main() function to one that returns a vec4. LÖVE requires this function to be named effect, and to have a bunch of arguments supplied:
void main(){
became
vec4 effect(vec4 color, Image texture, vec2 texture_coords, vec2 pixel_coords){
which returns a vec4 value instead of setting a value to gl_FragColor.
The adapted shader, as a LÖVE pixeleffect looks like this:
extern number exposure = 1.0;
extern number decay = 1.0;
extern number density = 1.0;
extern number weight = 1.0;
extern vec2 lightPositionOnScreen= vec2(0.0,0.0);
extern number NUM_SAMPLES = 100.0;

vec4 effect(vec4 color, Image texture, vec2 texture_coords, vec2 pixel_coords)
{
	vec2 deltaTextCoord = vec2( texture_coords - lightPositionOnScreen.xy );
	vec2 textCoo = texture_coords.xy;
	deltaTextCoord *= 1.0 / float(NUM_SAMPLES) * density;
	float illuminationDecay = 1.0;
	vec4 cc = vec4(0.0, 0.0, 0.0, 1.0);

	for(int i=0; i < NUM_SAMPLES ; i++)
	{
		textCoo -= deltaTextCoord;
		vec4 sample = Texel( texture, textCoo );
		sample *= illuminationDecay * weight;
		cc += sample;
		illuminationDecay *= decay;
	}
	cc *= exposure;
	return cc;
}
an actual example
Here is a .love with the pixeleffect in action: (you’ll need LÖVE to run this)
lightrays.love
Like Fabien’s example, there are keys to play with the effect in realtime:
exposure +-: w, s
decay +-: e, d
weight +-: r, f
density +-: t, g
vsync toggle: v
cycle through rendering buffers: b
With vsync off (v key) I get a capped 1000 fps on a Nvidia GTX 580 card.
Feel free to use the LÖVE code for whatever use you desire.
Tags: glsl, love2d

Hello! This version seems faster! +/-175fps. Nice work and thanks for adaptation tutorial!
Thanks NC again for your testing and excellent advice :)
that vimeo clip is fantastic. what else effect do you apply?
Thanks!
In the Vimeo clip I use a bunch of pixeleffects:
- the lightrays described here
- bloom, a series of down-sampled copies of the main render buffer, scaled back up and mixed with the original
- film grain, a single, pre-calculated canvas of noise, randomly offset in x and y per frame, mixed into the main buffer
This is actually super amazing. Thanks a lot for writing it!
Hi I really like the landscape in the vimeo clip. How is this made? Are you using tile-based scrolling?
Thanks Dan!
The background is made up of something like five layers. Each layer is really wide, like, 2000 pixels or something (probably a Po2). Each layer has a depth attribute that governs how fast it scrolls by, making the sweet parallax effect.
When I do it for real next time :) I’ll probably make it more modular: a bunch of individual trees etc, and build up each depth layer that way.
I just painted up these layers real quick in a paint app for the demo.